Provision Okta users and groups with SCIM#
SCIM keeps your Okta directory and the BSR in sync: Okta users are provisioned as BSR users, and Okta groups drive BSR organization membership. SAML sign-in is the prerequisite; configure it first on the sibling page Okta SAML sign-in, then return here to add provisioning.
The steps below must be carried out by users with administrative privileges in your Okta account.
Before you start#
- Complete Okta SAML sign-in so the BSR application exists in Okta and authentication works.
- Create a SCIM token in the BSR; see Create a SCIM token.
- Know your private BSR instance’s domain name (for example,
your-bsr-instance.example.com). - Have administrative access to your Okta organization.
Enable SCIM on the Okta application#
- Sign in to your Okta organization.
- Navigate to Applications > Applications and click on your BSR application.
- Navigate to the General tab and click Edit in the App Settings pane.
- Check SCIM and click Save.
- Okta may take some time to propagate the change. When it’s enabled, a new Provisioning tab appears on the application.
Configure the SCIM connector#
- In your Okta application, navigate to the Provisioning tab.
- Under the SCIM Connection pane, click Edit and enter the following information:
- SCIM connector base URL:
https://your-bsr-instance.example.com/scim/v2 - Unique identifier field for users:
userName - Supported provisioning actions: check the following:
- Push New Users
- Push Profile Updates
- To push groups, also check the following:
- Import New Users and Profile Updates
- Push Groups
- Import Groups
- Authentication Mode:
HTTP Header - Authorization: enter the SCIM token created above
- SCIM connector base URL:
-
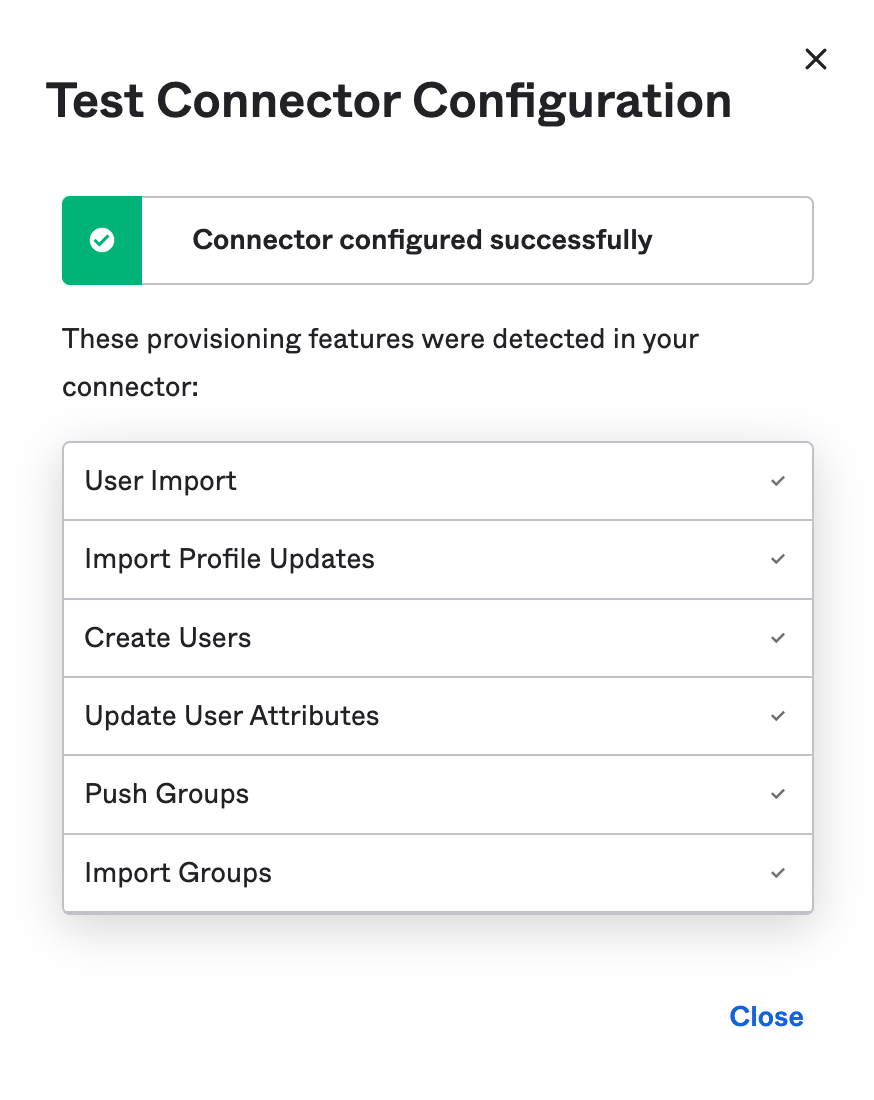
Click Test Connector Configuration. The success screen is shown below. An X appears next to actions that weren’t checked, which is expected.
-
Click Save.
- Click the To App side tab.
- Click Edit and enable the following options:
- Create Users
- Update User Attributes
- Deactivate Users
- Click Save.
-
In the Attribute Mappings section below, ensure the following attribute mappings are set. Unmap all other attributes.
Attribute Value userNameConfigured in Sign On settings (should be mapped to Email) givenNameuser.firstNamefamilyNameuser.lastNameemailuser.emailemailType(user.email != null && user.email != "") ? 'work' : ''
(specified only ifuser.emailisn’t null or empty)
Provision existing users#
If the Okta application was assigned to users before SCIM was enabled, those users need to be provisioned to the BSR explicitly. Okta tries to match each one against an existing BSR user, which should succeed without error.
- In your Okta application, navigate to the Assignments tab.
- Warnings appear next to each existing user. Click Provision User, then click OK in the confirmation prompt.
- A toast indicates that the provisioning job was queued.
View background tasks and any errors at Dashboard > Tasks (
https://yourorg.okta.com/admin/tasks).
If provisioning fails for a user, see How do I resolve a failed user provision?. For unresolved issues, contact Support or your Buf representative.
Push groups#
Okta groups drive BSR organization membership through automated organization membership provisioning: when a user lands in an Okta group that maps to a BSR organization, the BSR adds them to that organization automatically.
-
In your Okta application, navigate to the Push Groups tab.
-
Click Refresh App Groups to pull the latest groups from the BSR. This may take a few moments to complete.
-
Under Push Groups, choose the relevant group selection criteria. Once a group is selected, one of two outcomes is shown:
- If the BSR already knows about the group, Okta indicates that a match was found.
- If the BSR doesn’t know about the group, Okta offers to either link to another group in the BSR or create a new one. In most cases, create a new group.
-
Click Save.
-
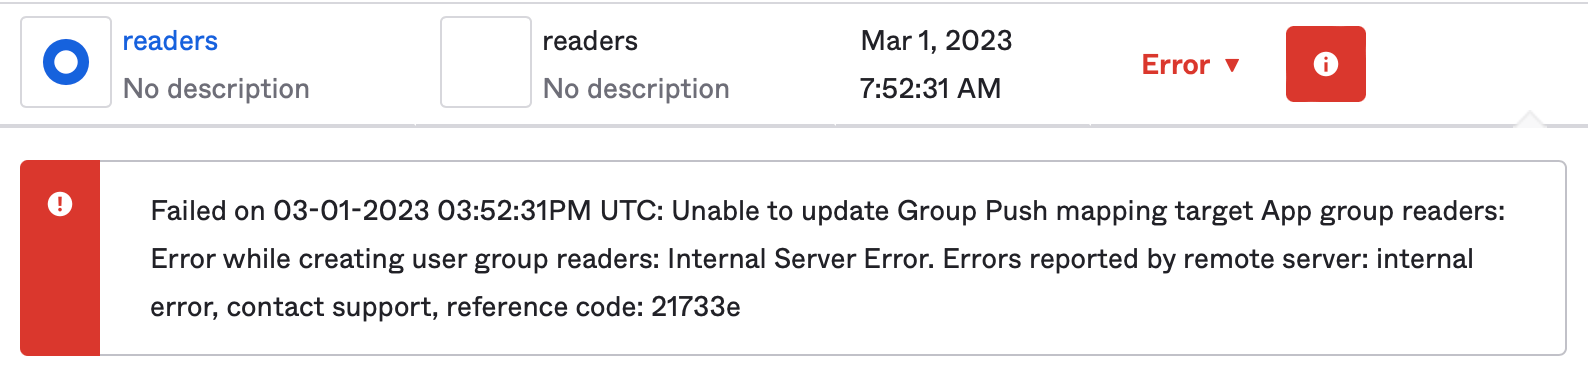
Okta now attempts a Group Push. Errors appear directly next to the group (see screenshot below). If this happens, contact Support or your Buf representative to resolve the error and try again.
Verify provisioning#
After the connector is saved and groups are pushed, confirm the result inside the BSR:
- Open the admin Users page on the BSR (
https://your-bsr-instance.example.com/admin/users) and confirm that the expected Okta users are listed. - Open one of the BSR organizations that an Okta group maps to and confirm that members of that Okta group appear as organization members.
For details on how IdP groups, automated provisioning, and lifecycle states interact, see User lifecycle.
Troubleshooting#
- SCIM FAQ covers common provisioning failures, including how to resolve a failed user provision.
- For Azure-based deployments, the parallel walkthrough is Provision Azure users and groups with SCIM.
- For unresolved issues, contact Support or your Buf representative.